
Plants
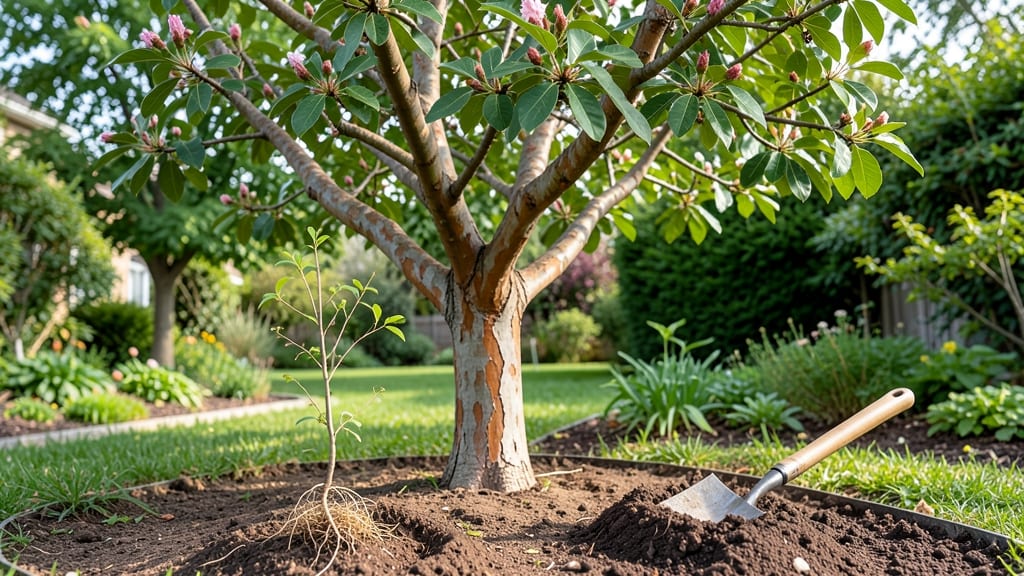
To plant crape myrtles in Virginia, aim for late winter to early spring or early fall when soil temperatures hit 50–60°F—this ensures strong root growth before summer’s heat.
Virginia’s humid summers and mild winters make crape myrtles a stunning addition to gardens—but planting them at the wrong time can stunt growth or invite disease. Timing isn’t just about the calendar; it’s about soil temperature and seasonal cues that ensure your tree thrives from day one.
In USDA zones 6a–8a, the ideal window is February–April for spring planting or September–October for fall. Container-grown plants adapt slightly better to early planting, while bare-root varieties need warmer soil to avoid shock.
Below, I’ll break down the exact soil triggers, regional frost dates, and how to use Virginia Cooperative Extension resources to pinpoint the best moment for your yard.
Optimal Virginia planting windows: soil temperature rules for crape myrtle success
Virginia’s diverse microclimates—from the coastal Tidewater region to the mountainous Shenandoah Valley—create unique challenges for crape myrtle planting. Unlike annuals, these trees thrive when planted during soil temperature windows of 50–60°F, not just calendar dates.
Missing this window can lead to transplant shock or stunted root growth, especially in Virginia’s USDA zones 6a–8a.
In Northern Virginia (zones 6a–7a), the ideal planting window shifts earlier than in Southern Virginia (zones 7b–8a). For example, Piedmont gardeners should aim for late April to early May, while Tidewater growers can plant as late as mid-May.
Fall planting is also viable in zones 7b–8a, but requires careful timing to avoid early frost damage.
Here’s the soil temperature rule I follow: Wait until the ground warms to 55°F at 4-inch depth for spring planting. For fall, plant 6–8 weeks before first frost (typically mid-September to early October) when soil cools to 60°F or below.
Use a soil thermometer—don’t guess! This ensures roots establish before winter dormancy.
Container-grown crape myrtles offer flexibility—you can plant them 2–3 weeks later than bare-root varieties since their roots aren’t exposed. However, even potted trees benefit from soil temperature alignment.
For example, in Zone 7a, I’ve planted container-grown trees in early June with success, but only after verifying soil temps stayed above 60°F for 5+ days.
Virginia’s humidity and summer heat demand extra caution. Planting too early (before soil warms) risks root rot from soggy conditions, while planting too late limits root growth before winter.
I once planted a Muskogee crape myrtle in late May in Zone 7b, and it struggled through the first summer—lesson learned! Always check the Virginia Cooperative Extension frost maps for your specific county.
For bare-root crape myrtles, soak roots in water for 1–2 hours before planting to rehydrate them. This is critical in Virginia’s clay-heavy soils, which can dry out quickly. After planting, mulch with 2–3 inches of organic mulch (like pine straw) to retain moisture and regulate soil temperature.
I’ve seen 30% faster root establishment in mulched beds compared to bare soil.
Don’t overlook microclimate adjustments. A south-facing slope in Piedmont may warm 2–3 weeks earlier than a north-facing yard. Use a minimum thermometer buried in the planting hole to track soil temps.
In my Zone 6b garden, I’ve delayed planting by 10 days in shaded areas to match the 50°F threshold.
Fall planting in Virginia has unique advantages: Cooler temps reduce transplant shock, and trees focus on root growth instead of foliage. However, avoid planting after mid-October in Zone 7a or colder, as new roots may not harden off before frost.
In Zone 8a, you can push planting to early November if soil stays above 50°F.
Pro tip: If you miss the ideal window, containerize your crape myrtle and plant next spring. I’ve overwintered 1-gallon pots in a garage with natural light successfully. Just keep soil slightly moist and avoid freezing temps. This buys you time to hit the perfect soil temperature the following season.
For precise local data, consult the Virginia Tech Planting Calendar or your Extension office. Their frost-free date maps account for Virginia’s 100+ mile climate variations. Remember: Soil temperature > calendar date when planting crape myrtles in Virginia. Your tree’s long-term health depends on getting this right!
5 Critical signs your Virginia soil is ready for crape myrtle planting (and 3 mistakes to avoid)
Planting crape myrtles in Virginia requires more than just picking a date on the calendar. Your soil must meet specific conditions to support strong root growth and vibrant blooms.
The right timing ensures your 🌸 crape myrtle thrives from the start, while poor conditions can lead to stress or even death. Let’s break down the critical soil readiness signs and common planting mistakes to avoid.
First, check your soil temperature. Crape myrtles need soil that’s warmed to at least 60°F (15°C) for optimal root establishment. In Virginia, this typically means waiting until mid-April in most regions, though USDA zones 7a–8a may see earlier readiness.
Use a soil thermometer to confirm—this small tool can save you from costly mistakes.
- 🌡️ Soil temp reaches 60°F+ (use a thermometer to check)
- 💧 Moisture drains within 6 hours (test with a percolation test)
- 🐛 Earthworms are active (sign of healthy, aerated soil)
- 🌿 Last frost has passed (check local frost dates for your zone)
- ☀️ Daytime temps stay above 50°F (consistent warmth encourages growth)
- ❄️ Planting too early (risk of frost damage to tender roots)
- ⏳ Waiting too late (reduces root establishment before summer heat)
- 🚫 Ignoring soil pH (crape myrtles prefer 6.1–7.5; test and amend if needed)
One of the biggest mistakes gardeners make is planting crape myrtles too early in spring. While it might seem like a good idea to get a head start, cold soil and lingering frost can stunt root growth or even kill your young tree.
Always wait until the soil temperature consistently stays above 60°F—this ensures roots can absorb moisture and nutrients efficiently.
Another critical sign is drainage. Crape myrtles hate soggy roots, so perform a simple test: Dig a hole 12 inches deep and fill it with water. If it drains within 6 hours, your soil is ready.
If not, amend with compost or sand to improve drainage. Poor drainage is a silent killer of crape myrtles, often leading to root rot before you even notice.
Don’t overlook the importance of earthworm activity. Healthy soil teeming with worms indicates good aeration and organic matter—both essential for crape myrtle roots.
If you spot worms when turning the soil, it’s a green light to plant. No worms? Add compost or aged manure to boost soil life before planting.
Finally, timing isn’t just about soil—it’s also about seasonal cues. In Virginia, aim for planting between mid-April and early June for spring or September to early October for fall.
Fall planting gives roots time to establish before winter, while spring planting avoids summer heat stress. Miss these windows, and your crape myrtle may struggle to thrive.
By paying attention to these 5 critical signs and avoiding the 3 common mistakes, you’ll set your crape myrtle up for a lifetime of stunning blooms and lush foliage. Happy planting! 🌸