
Planting
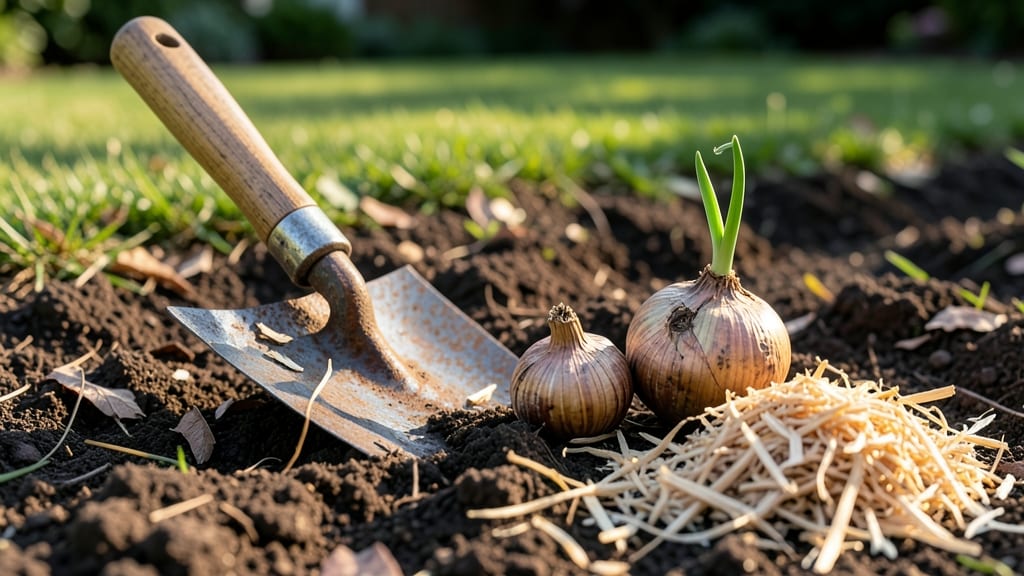
Best fall planting timeline for tulip bulbs: 6-8 weeks before frost
Planting tulip bulbs at the right time in fall is crucial for strong root development before winter. The ideal window is 6-8 weeks before your first frost date, giving bulbs time to establish roots while avoiding early planting that can lead to rot.
This timing varies dramatically across USDA zones 3-10, so let's break it down by region to ensure your tulips thrive.
In cold climates (zones 3-5), aim to plant between mid-September and mid-October when soil temperatures drop below 60°F (15°C). Southern regions (zones 6-10) have more flexibility, with planting windows stretching from October through December, but always before the ground freezes.
The key is ensuring bulbs have 4-6 weeks of root growth before winter dormancy begins.
Soil temperature is your best guide—wait until it consistently stays below 60°F (15°C) during the day. Use a soil thermometer for accuracy, especially in transitional zones. Planting too early in warm soil can trigger premature sprouting, while waiting too long risks bulbs not establishing roots before frost.
Here's a regional planting timeline to help you pinpoint the perfect window for your location:
| USDA Zone | Optimal Planting Window | Soil Temp Threshold | Last Chance Before Frost | Key Consideration |
|---|---|---|---|---|
| Zones 3-4 | Mid-September to early October | Below 60°F (15°C) | Early November | Short growing season |
| Zones 5-6 | Late September to mid-October | Below 60°F (15°C) | Late November | Moderate climate |
| Zones 7-8 | October to early November | Below 65°F (18°C) | Mid-December | Longer growing season |
| Zones 9-10 | November to early December | Below 70°F (21°C) | Late December | Mild winters |
For zone 3 gardeners, this means planting by mid-October at the latest, while zone 10 gardeners can stretch planting until early December. Always check your local frost dates—count backward 6-8 weeks to determine your deadline.
Late planting is better than early, as bulbs can rot in warm soil.
Once planted, mulch heavily with 2-3 inches of straw or leaves to insulate bulbs from temperature swings. This protects them during freeze-thaw cycles and helps maintain consistent soil moisture. In warmer zones (7-10), consider a light frost blanket for extra protection during unexpected cold snaps.
Remember that tulip varieties can influence timing slightly. Dwarf tulips may need slightly earlier planting, while taller varieties benefit from a bit more time to establish roots. Always plant the pointy end up and 6-8 inches deep for optimal growth.
With the right timing, you'll be rewarded with vibrant spring blooms that outshine anything store-bought.
Pro tip: Mark your planting date on a calendar to track progress. If you're unsure about your zone, use the USDA Plant Hardiness Zone Map to find your exact location.
The difference between a perfectly timed planting and a failed attempt often comes down to these 6-8 weeks—so don't rush!
🌷
How to prepare your garden for tulip bulbs before planting
Preparing your garden properly before planting tulip bulbs is the secret to vibrant spring blooms. The right soil conditions and spacing give your bulbs the best chance to establish strong roots before winter.
I’ve learned that well-draining soil and proper depth are non-negotiable—skimp here, and you risk rot or weak stems. Let’s break down the essential steps so your tulips thrive from day one.
Start by choosing a sunny location with at least 6 hours of sunlight daily. Tulips crave light, and too much shade leads to leggy stems and fewer blooms.
If your yard has partial shade, consider planting dwarf varieties like 'Tiny Star' or 'Queen of Night', which tolerate slightly less sun. Test your soil’s drainage by digging a hole and filling it with water—if it drains within an hour, you’re good to go!
Soil preparation is where most gardeners trip up. Tulips hate soggy soil, so amending clay or compacted earth with organic matter like compost or sand is key. Aim for a pH between 6.0 and 7.0—most garden soils fall in this range, but a simple test kit ensures accuracy. I mix in a 3-inch layer of compost into the top 12 inches of soil to improve fertility and structure. This step alone can double your success rate!
- Step 1
- Step 2
- Step 3
- Step 4
- Step 5
- Step 6
- Step 7
Spacing is another critical factor. Plant tulip bulbs 4-6 inches apart in rows spaced 12-18 inches apart to allow airflow and prevent disease. For dwarf varieties, you can space them 3-4 inches apart to create a dense, carpet-like effect.
I’ve found that overcrowding leads to competition for nutrients, resulting in smaller blooms. If you’re planting in containers, use a mix of potting soil and perlite and space bulbs 2-3 inches apart.
Don’t forget about companion planting! Tulips pair beautifully with low-growing perennials like crocuses, grape hyacinths, or ajuga. These plants suppress weeds and add color contrast. Avoid planting tulips near bulb-eating squirrels or deer—if these pests are a problem, opt for daffodils instead, which they avoid.
A light layer of mulch after planting also deters rodents and retains soil moisture.
Finally, water your newly planted bulbs thoroughly but gently to avoid displacing them. Aim for 1 inch of water per week until the ground freezes. In drought-prone areas, consider installing a drip irrigation system to keep soil consistently moist.
With these steps, your tulips will emerge stronger and more vibrant next spring—guaranteed to steal the show!